
Upgrading a 1960s or 1970s Kitchen Layout and Systems
A closed-off galley, a soffit over every upper cabinet and two outlets on the counter are the usual starting point in a 1960s or 1970s kitchen. Opening walls, catching up the wiring and plumbing, and putting the trades in the right order.
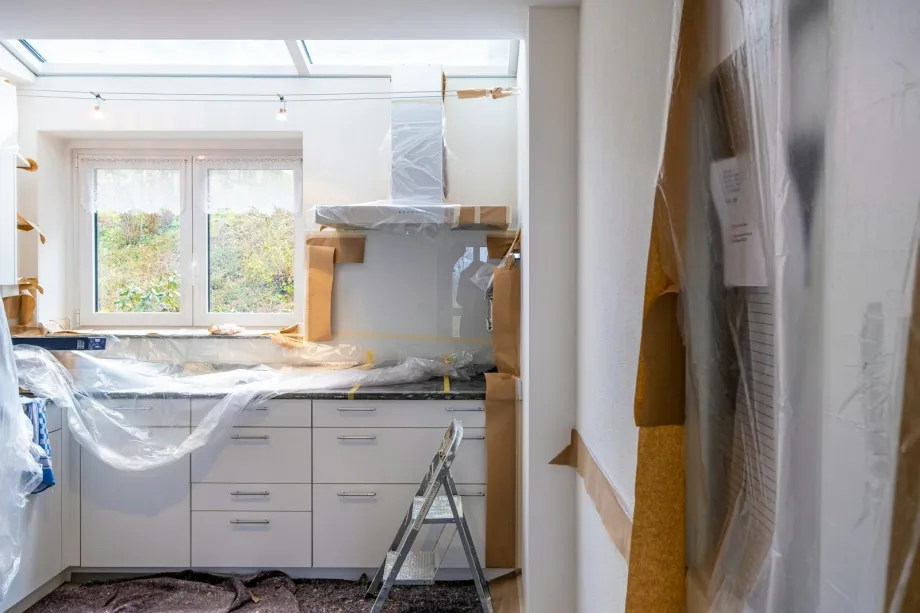
Houses from the 1960s and 1970s tend to have good bones: solid framing lumber, decent subfloors, honest proportions. Their kitchens, though, were laid out for a different way of cooking. They sit behind partition walls, carry boxed soffits over the upper cabinets, and run on electrical and plumbing systems sized for a toaster and a percolator. A good remodel deals with structure and mechanicals first and lets the finishes follow.
Test for asbestos and lead before anything comes down
Kitchens of this age often hide materials that change how demolition is done. Vinyl floor tile and its black mastic, sheet flooring backing, drywall joint compound and textured ceilings from the period can contain asbestos. Paint applied before 1978 may contain lead. Send samples to an accredited lab before tearing anything out. If results come back positive, removal rules and the right contractor depend on your state, and renovators working on pre-1978 homes are expected to follow lead-safe work practices.
Walls and framing
Opening a closed kitchen to the dining or family room usually means removing at least one wall, so the first question is whether that wall carries load. A bearing wall supports ceiling joists, rafters or a floor above. In many ranches, walls that run across the ceiling joists near the middle of the house are bearing and walls running parallel are not, but truss roofs, old additions and stair openings all break that rule. Treat any guess as a guess until a structural engineer or experienced builder has looked at it, and pull a permit for the work.
Taking out a bearing wall means sizing a beam, often laminated veneer lumber, to carry the load across the new opening. The beam bears on posts at each end, and those posts need a continuous path down to the foundation. Over a basement or crawlspace that can mean new footings or blocking under each post.
There are two ways to hang the beam. A flush beam sits up in the ceiling plane, with the cut joists hung from its sides in metal hangers, and leaves a flat ceiling between the rooms. A dropped beam sits below the joists. It is quicker to install but leaves a visible header and lowers headroom at the opening.
Soffits, or furr-downs, deserve a look too. Some are empty boxes built to fill the gap above standard upper cabinets. Others hide supply pipes, a plumbing vent or a duct run. Cut a small inspection hole before you plan on removing one.
Electrical and plumbing
A kitchen wired in 1965 was not planned for a microwave, an induction cooktop and an espresso machine running at once. Older kitchens often have one or two circuits feeding every outlet in the room.
Some houses built from the mid-1960s into the early 1970s have aluminum branch wiring. Its connections can loosen and overheat at switches and outlets over time. If you find it, have a licensed electrician evaluate it. Replacing the circuits with copper is the most thorough fix, and there are approved repair methods for connections where full rewiring is not practical.
Current code, as adopted in most places, calls for at least two 20-amp small-appliance circuits serving the countertop receptacles, GFCI protection at the counter, and in many jurisdictions AFCI protection on kitchen circuits as well. Disposals, dishwashers, wall ovens, built-in microwaves and electric ranges commonly get their own circuits. Your local code edition and the appliance installation instructions decide the details. Older homes with 60-amp or 100-amp service may need a larger panel; an electrician's load calculation will tell you.
Supply plumbing from this era is often galvanized steel, which corrodes from the inside, cuts water pressure and sheds rust into faucets. Replacing the accessible runs with PEX or copper is a common part of a kitchen job. Drains are usually cast iron or early plastic. Moving the sink means extending drain and vent lines through joists or, on a slab, cutting concrete, and the new drain needs a steady fall to the main line.
Zones and clearances
The work triangle between sink, refrigerator and cooktop still helps, but planners now think in zones so two people can cook without colliding:
- Food storage: refrigerator, pantry and dry goods.
- Dishes and serving pieces, near the dishwasher.
- Cleanup: sink, dishwasher, trash and recycling pull-outs.
- Prep: a long stretch of counter, ideally next to the sink.
- Cooking: cooktop or range, ovens, microwave and the hood.
If the opened room gets an island, aisle width decides whether it works. Kitchen design guidelines commonly suggest about 42 inches for a one-cook kitchen and 48 inches where two people work or where appliance doors open into the aisle. A refrigerator door facing an oven door across a narrow aisle is a daily annoyance. Put the main prep counter between the sink and the cooktop so food travels from washing to chopping to the pan without doubling back.
Order of the trades
Getting the sequence right keeps one trade from damaging another's finished work.
- Hazardous material testing and abatement if needed, then demolition of cabinets, soffits, flooring and non-structural walls.
- Structural work: beams, posts, footings and any new partitions.
- Rough plumbing, electrical and HVAC in the open walls.
- Rough inspections before anything is closed up.
- Insulation, drywall, taping and primer.
- Flooring that runs under the cabinets.
- Cabinets, set level and fastened to studs.
- Countertop templating, fabrication and install.
- Finish plumbing and electrical: fixtures, appliances, devices and lights.
- Backsplash tile, trim, caulk and final paint.
Keeping the house livable
A kitchen job means weeks without a working kitchen and a steady supply of fine dust. Plan a makeshift cooking corner near a water source before demolition day, and seal the work area with plastic sheeting and a zippered door. Cover the HVAC returns in the work zone and change the furnace filter when the dusty phases are over, or the system will spread drywall dust through every room.
Frequently asked questions
How do I know if a kitchen wall is load-bearing?
Look in the attic or basement to see which way the joists run and whether anything bears on the wall from above or sits under it from below. Walls running across the joists are often structural, but truss roofs and past alterations change the picture. Have a structural engineer or experienced builder confirm it, and expect the building department to want a permit for the beam.
Do I need to rewire the entire kitchen in an older house?
Not always, but most kitchens from this era have too few circuits for current use and current code. Some houses of the period also have aluminum branch wiring or ungrounded circuits. A licensed electrician can tell you what can stay, what must be replaced, and whether the service panel needs an upgrade.
What is the best sequence for installing cabinets and flooring?
Many remodelers lay nail-down hardwood or tile before the cabinets so the floor runs continuously and appliances can slide out later. Floating floors such as click-lock vinyl plank usually go in after the cabinets, because they need to expand and contract freely rather than being pinned under heavy boxes.
How long does a mid-century kitchen remodel usually take?
A full tear-out and rebuild is commonly a matter of a couple of months on site, longer if walls move or the panel is replaced. Design, permits and cabinet lead times come before that, so start ordering well ahead of demolition.